
How to Create Your Own Gallery Wall
The Intentional Mom Planning System is where you need to start with our incredible collection of product options. It will help you establish the basics for your life & home so you’ll finally have a plan, save yourself time, and go to bed feeling like you accomplished something every day (because you did). Save up to 60% HERE!
Have you ever wanted to create a gallery wall? I did..for about two years before I finally took the leap and did it.

When I went about it, I collected ideas by looking at different gallery wall ideas on Pinterest and in various magazines and catalogs. I found the ones I liked best weren’t even in pictures that were “advertising” gallery walls but were actually showing something else with a gallery wall in the background.
My gallery wall is actually comprised of three different walls, but they are all in the same room and within the same plane of vision. I started with the largest wall and realized that the walls that remained sparsely decorated just didn’t fit. It was through getting the biggest wall in place that I decided that I needed to incorporate the two other walls as well.
This is my biggest piece of advice when it comes to creating a gallery wall: be fluid and go with the flow.
I cannot tell you the number of times that I changed how I wanted it to be laid out and the order in which I displayed things.
Through my research, I determined that I wanted to incorporate the following:
- a variety of textures
- a variety of sizes
- a variety of shapes
- a congruent palette of color between all 3 walls
- a combination of personalized and generic items
- several items that I already had
Once I determined these things, I went to work.
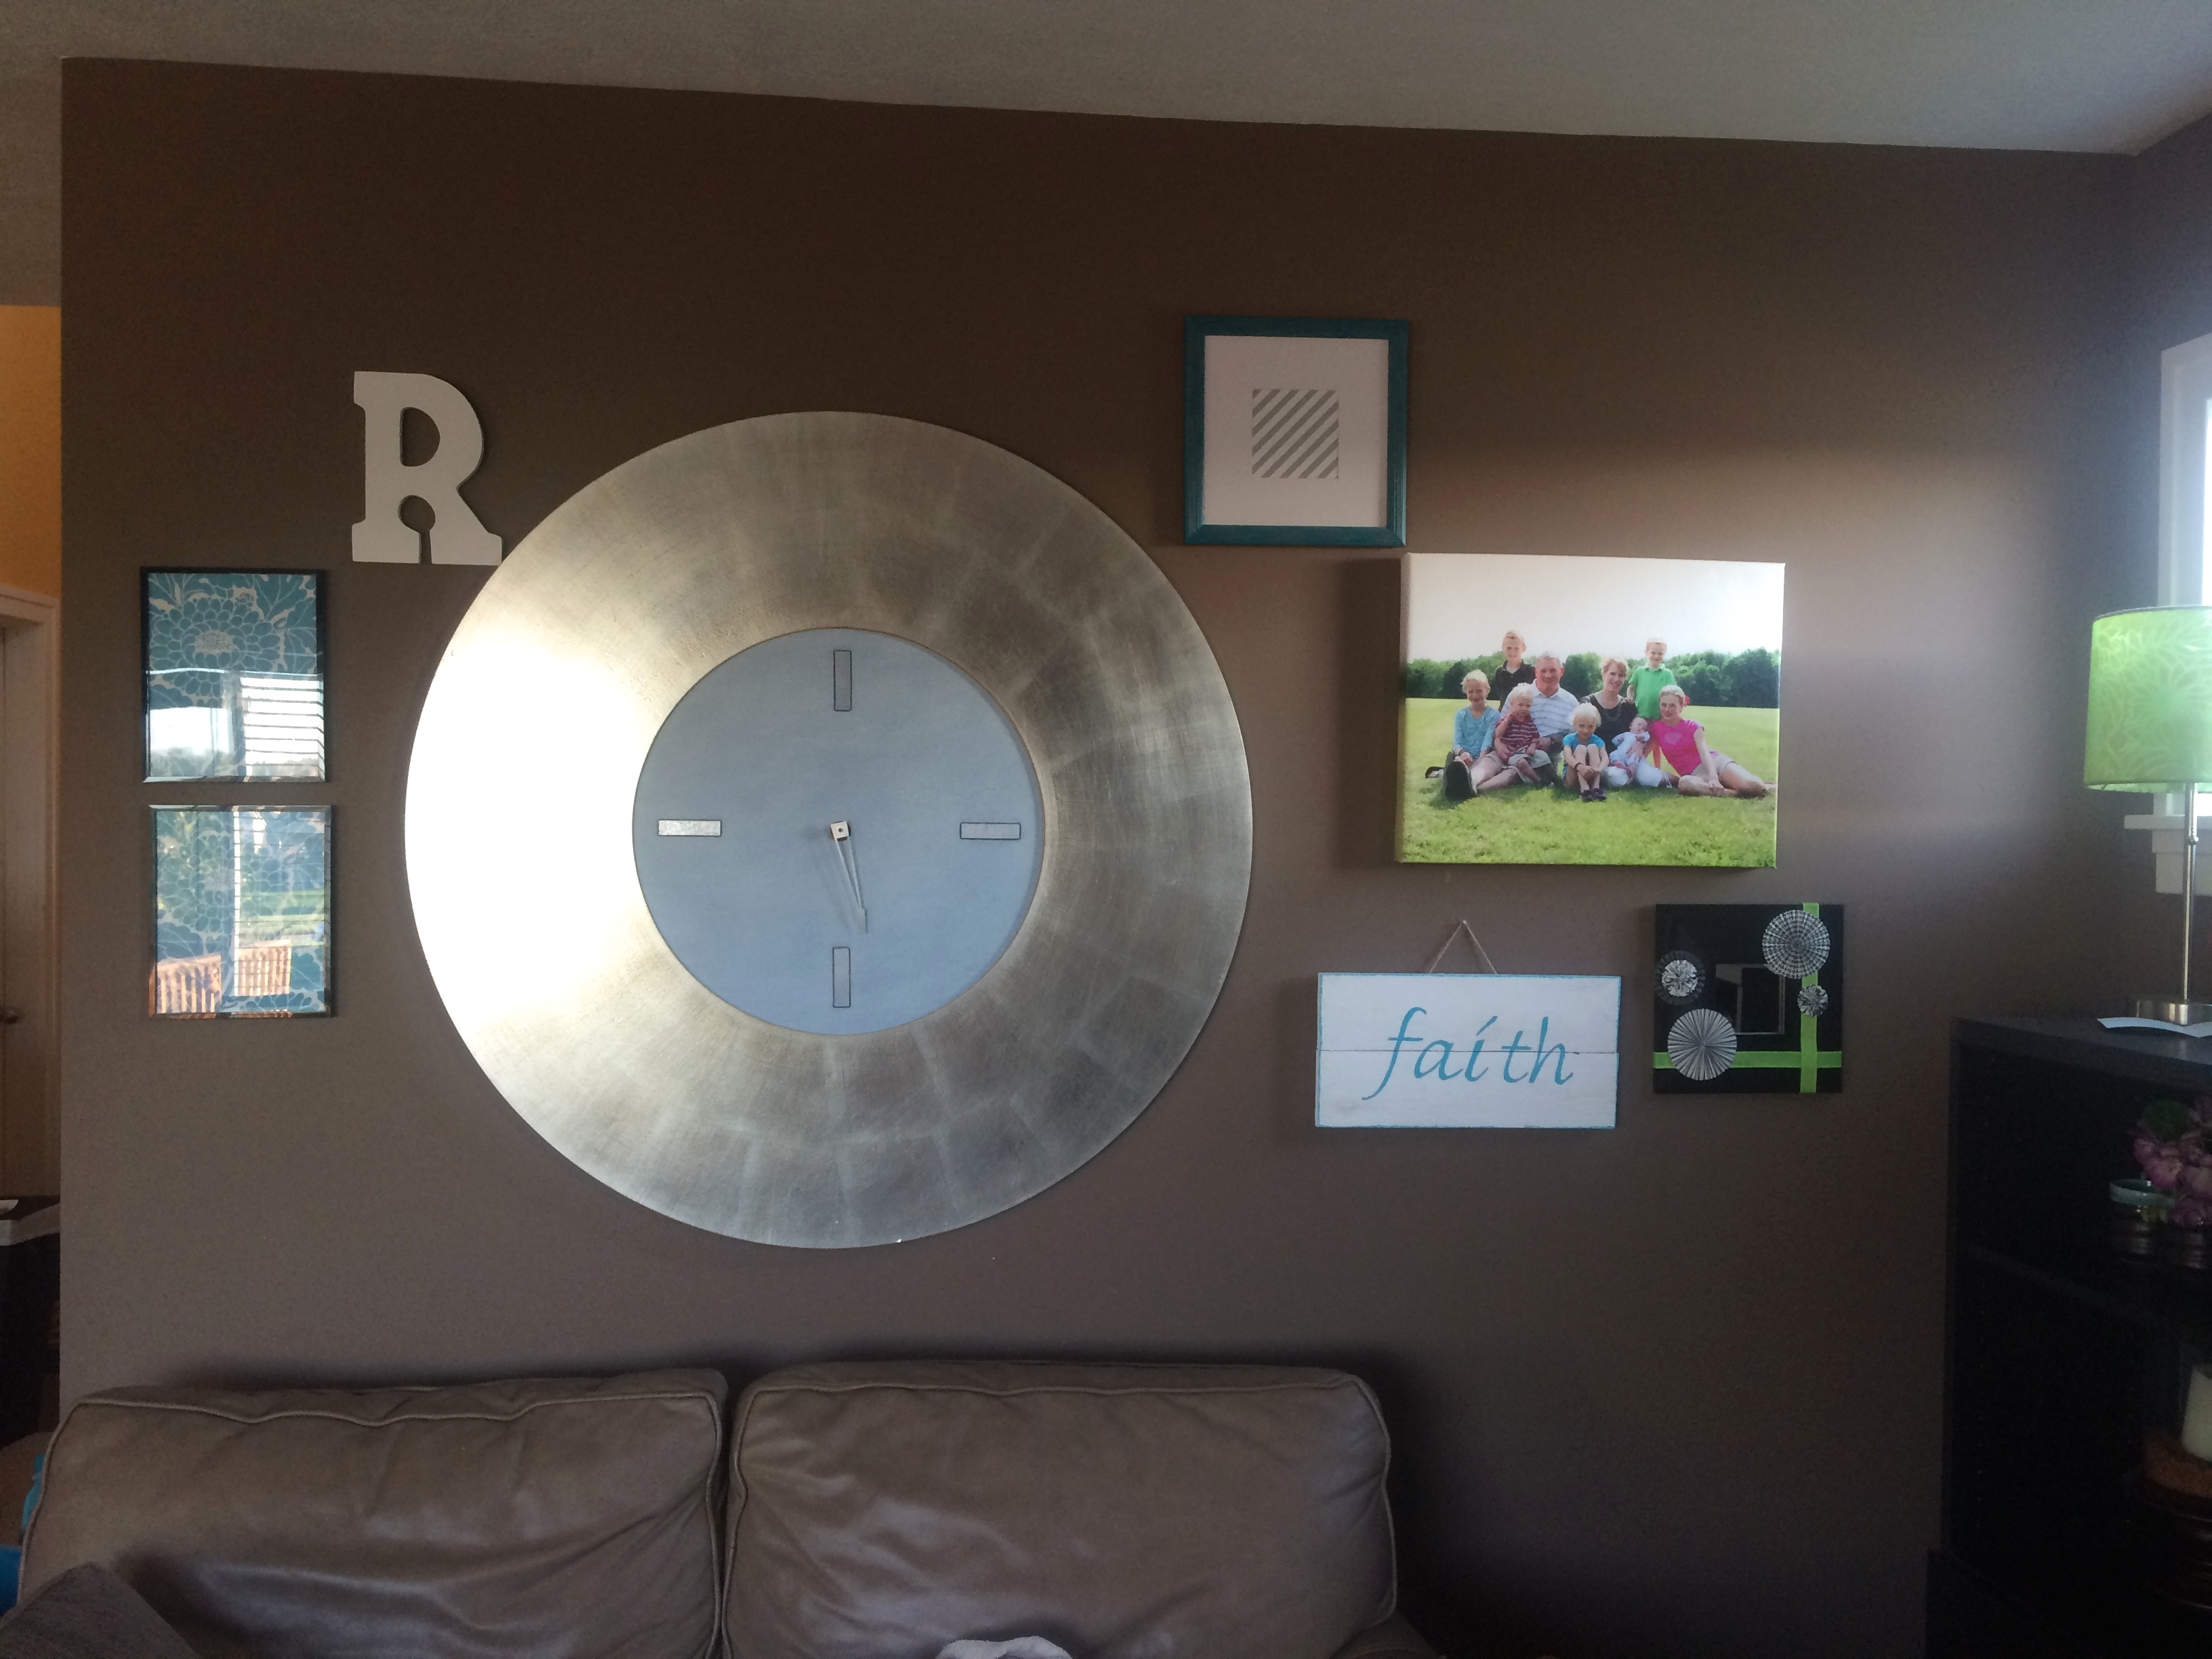
I started by determining the things that I wanted to use from what I already owned. I used all three personalized canvases that I already had displayed in this room, and I knew that I would want to use my big metal clock as well as a few other smaller pictures.
With those things to work with, I began searching the Facebook garage sale websites that I frequent for things I could use. I found a couple of things there including the wood element that says “faith” and the canvas with the green bird on it.
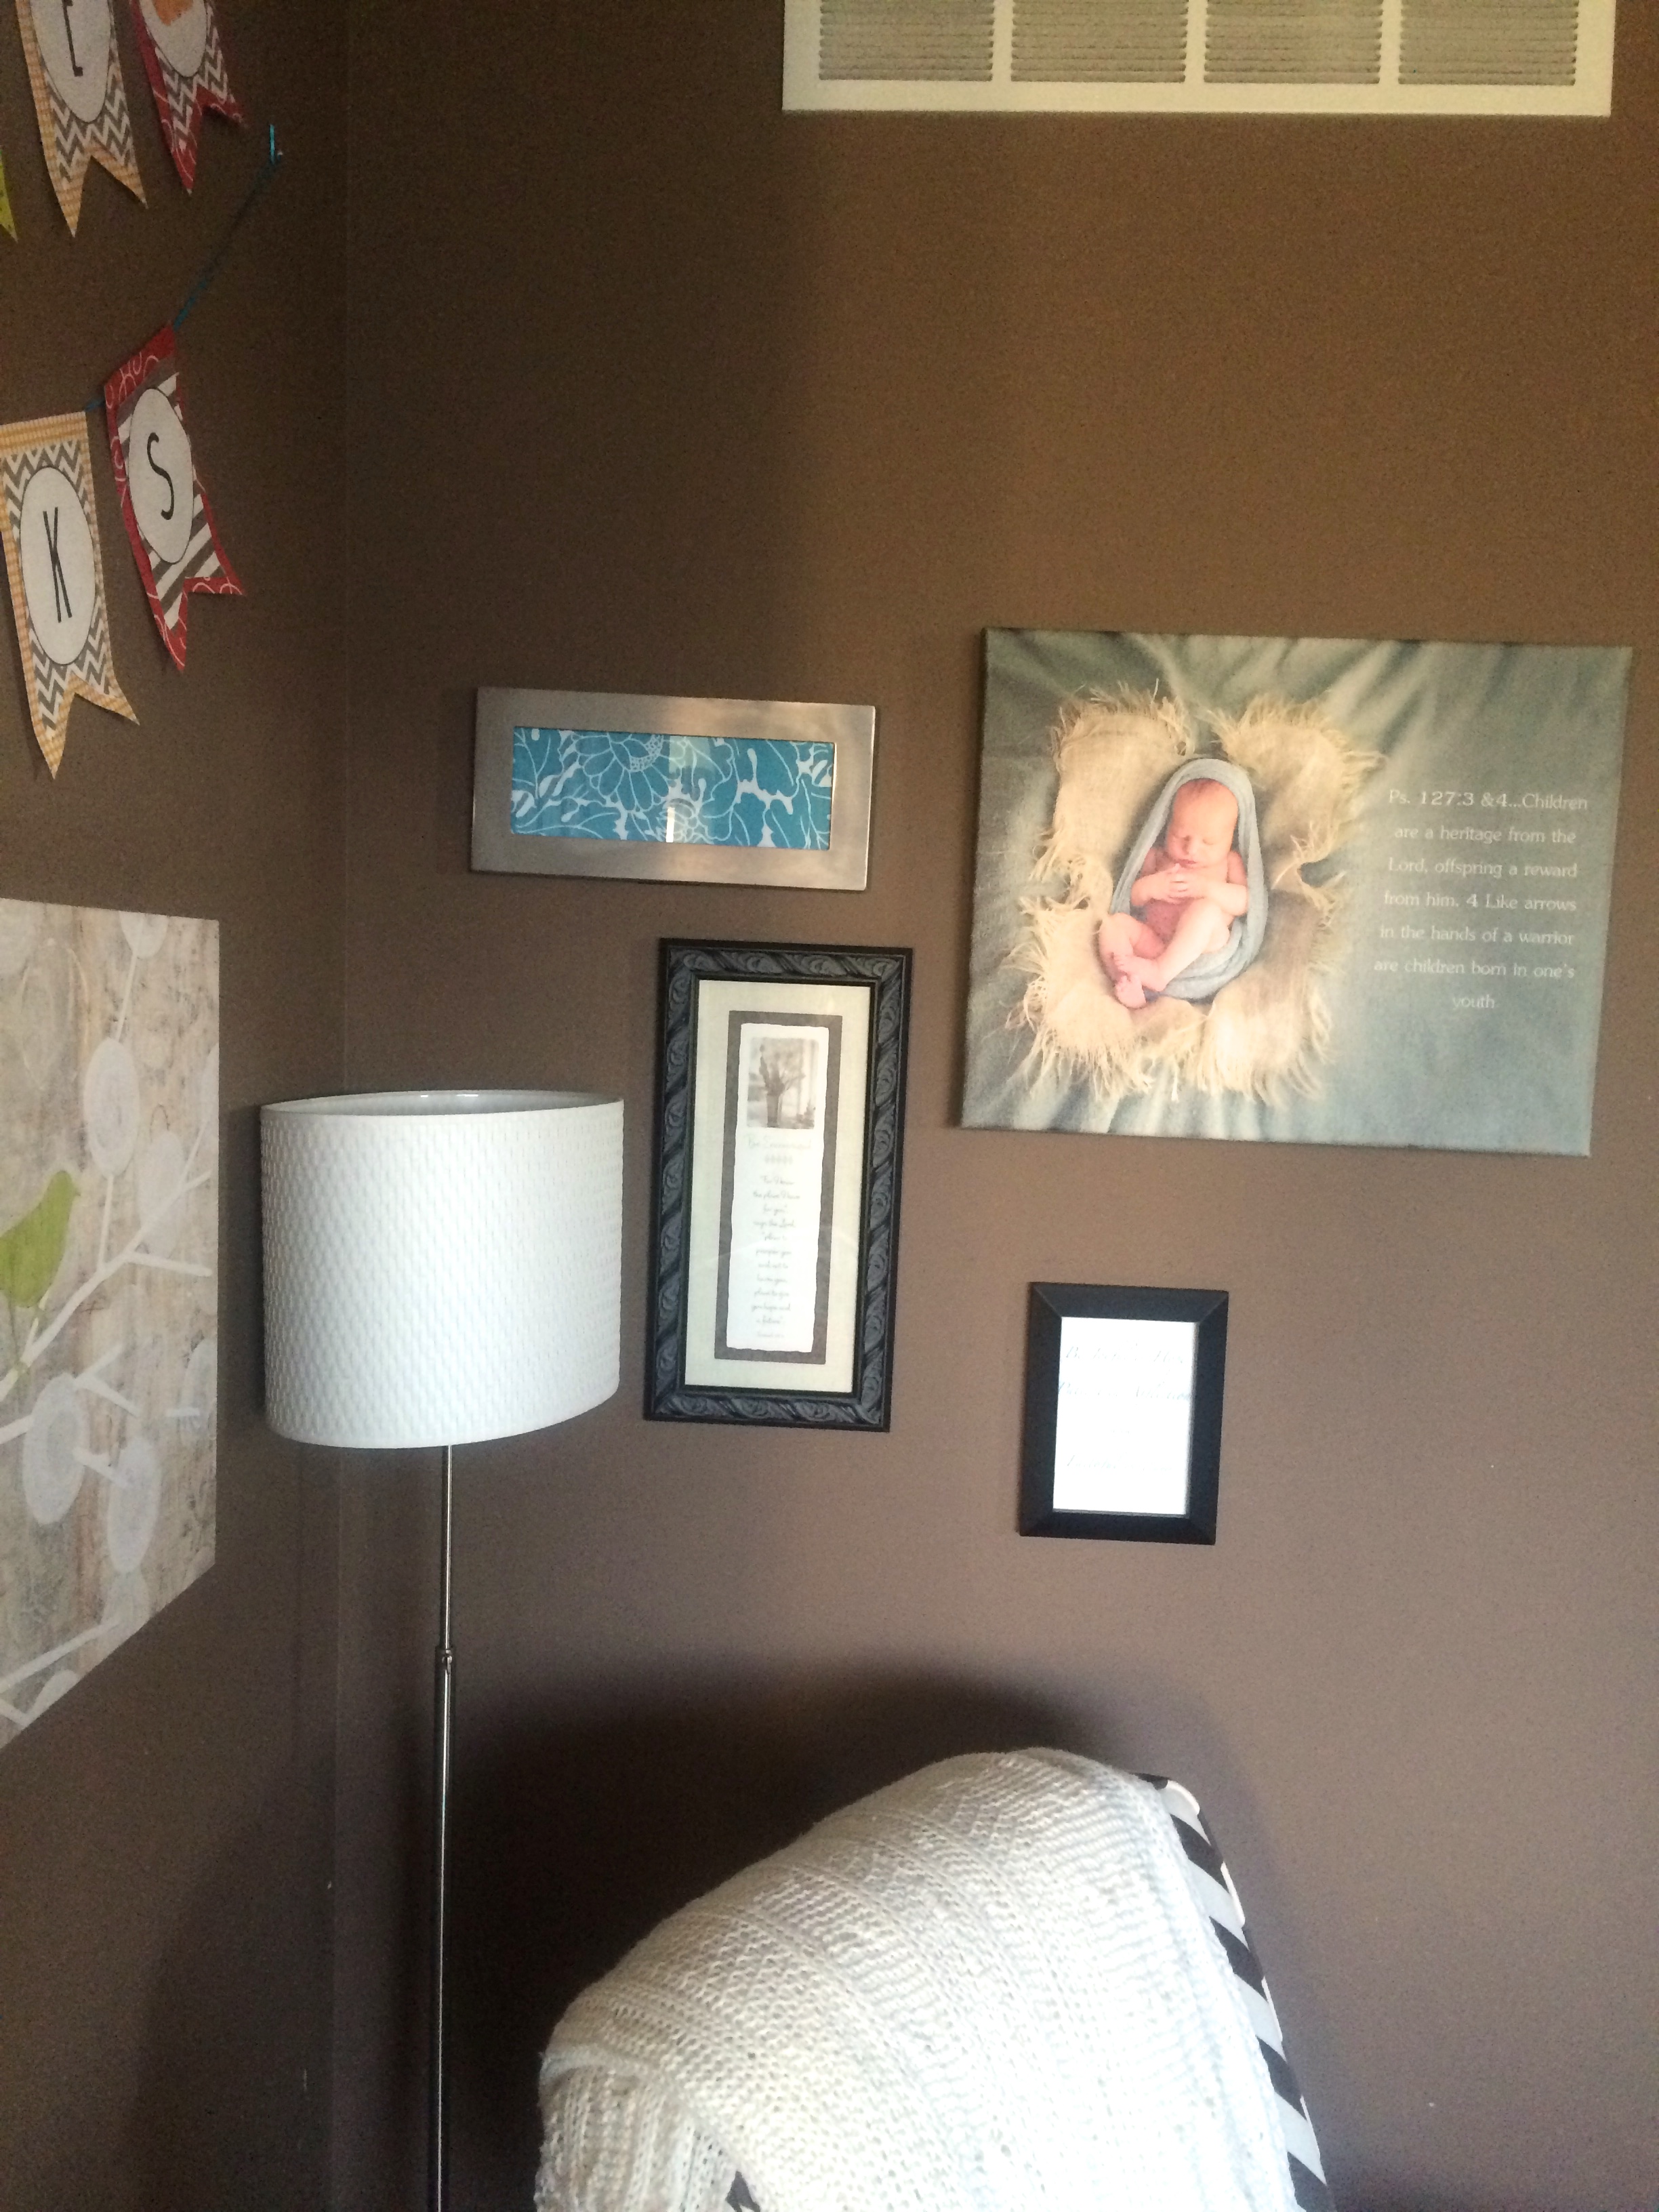
From there I headed to Hobby Lobby and Micael’s to look for some other elements including scrapbook paper to frame, using frames that I already owned.
Once I had everything ready to go. I began arranging and rearranging everything on the floor in the living room.
With it was arranged as I wanted it on the floor, I hung the clock first since it is the largest element. Then I began hanging the other things, only making one change from what I originally had planned out. I have also heard of cutting paper that is the exact size of the pieces you will be hanging and taping them right to your wall to get a feel for how it will look. However, I did not take this step.
With that wall complete, I moved on to first arranging the elements for the other two walls on the floor and then moving them to the wall. I didn’t end up making any changes to the original arrangement on these two walls.
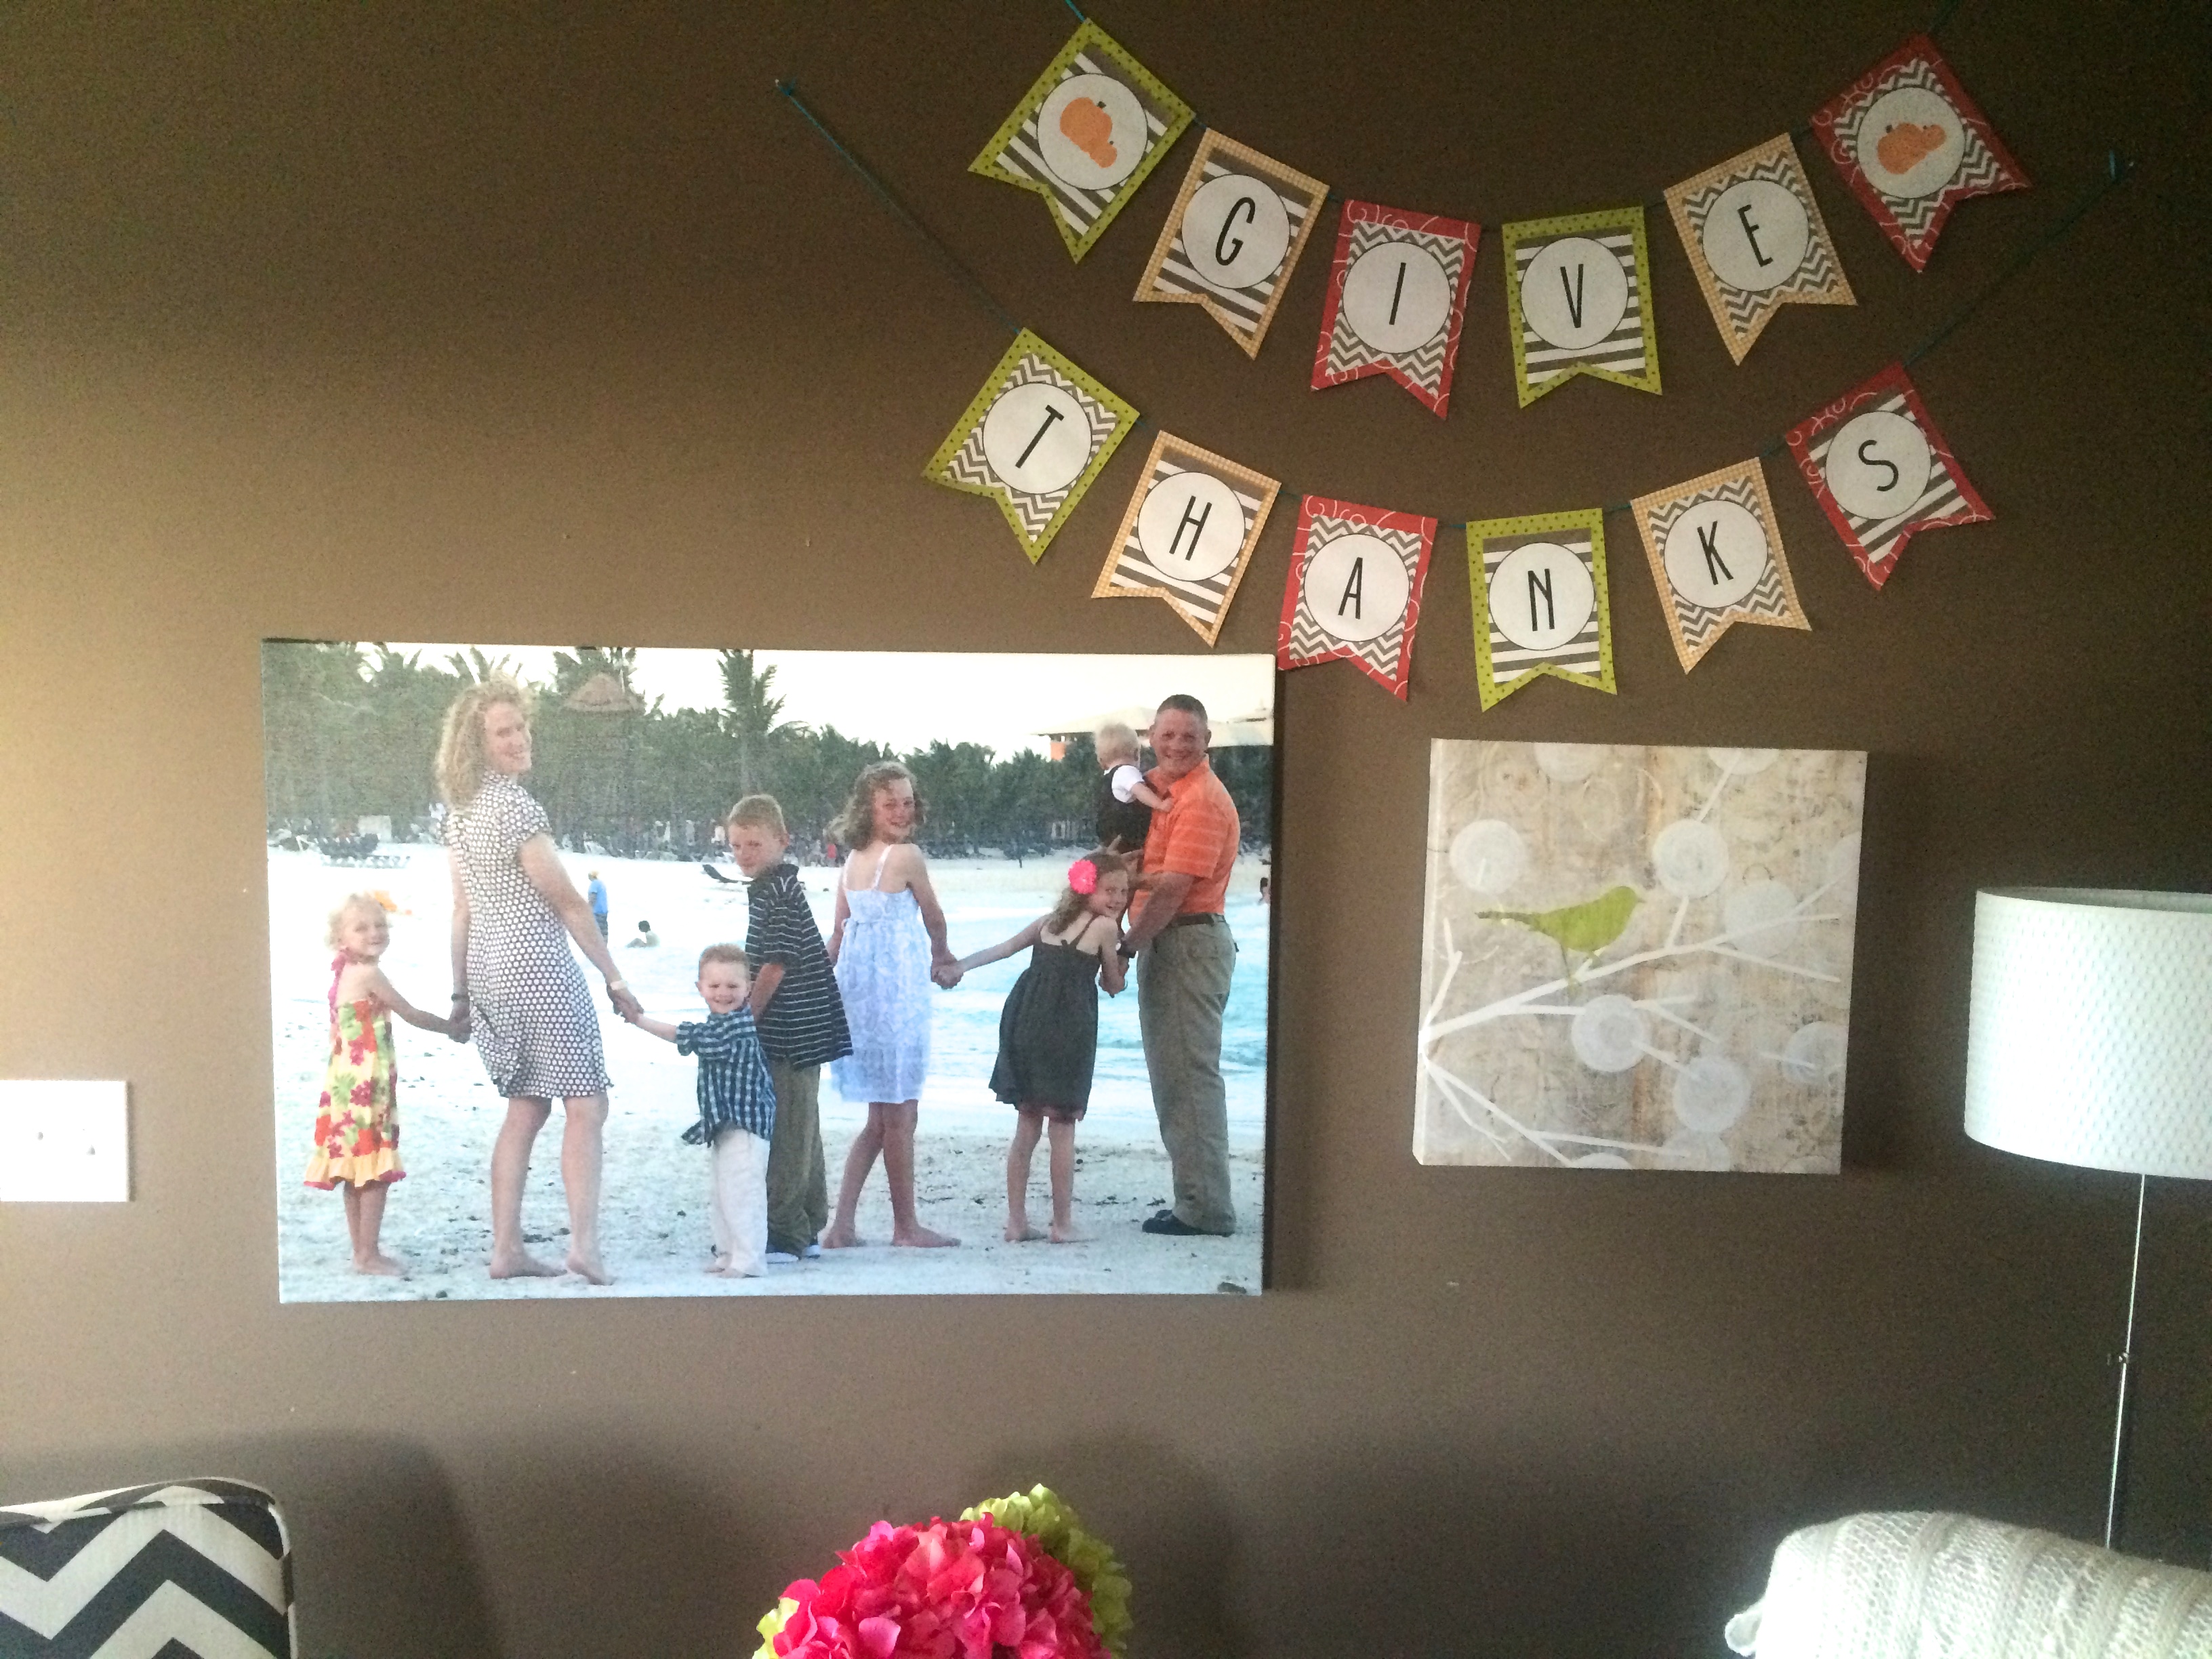
Altogether I spent less than $50. Of course I have a lot of time into it including to make the “give thanks” banner, but it was time well spent, I love it!
If you have been toying around with creating a gallery wall, gather some inspiration, find or create your pieces, and just dive in!