
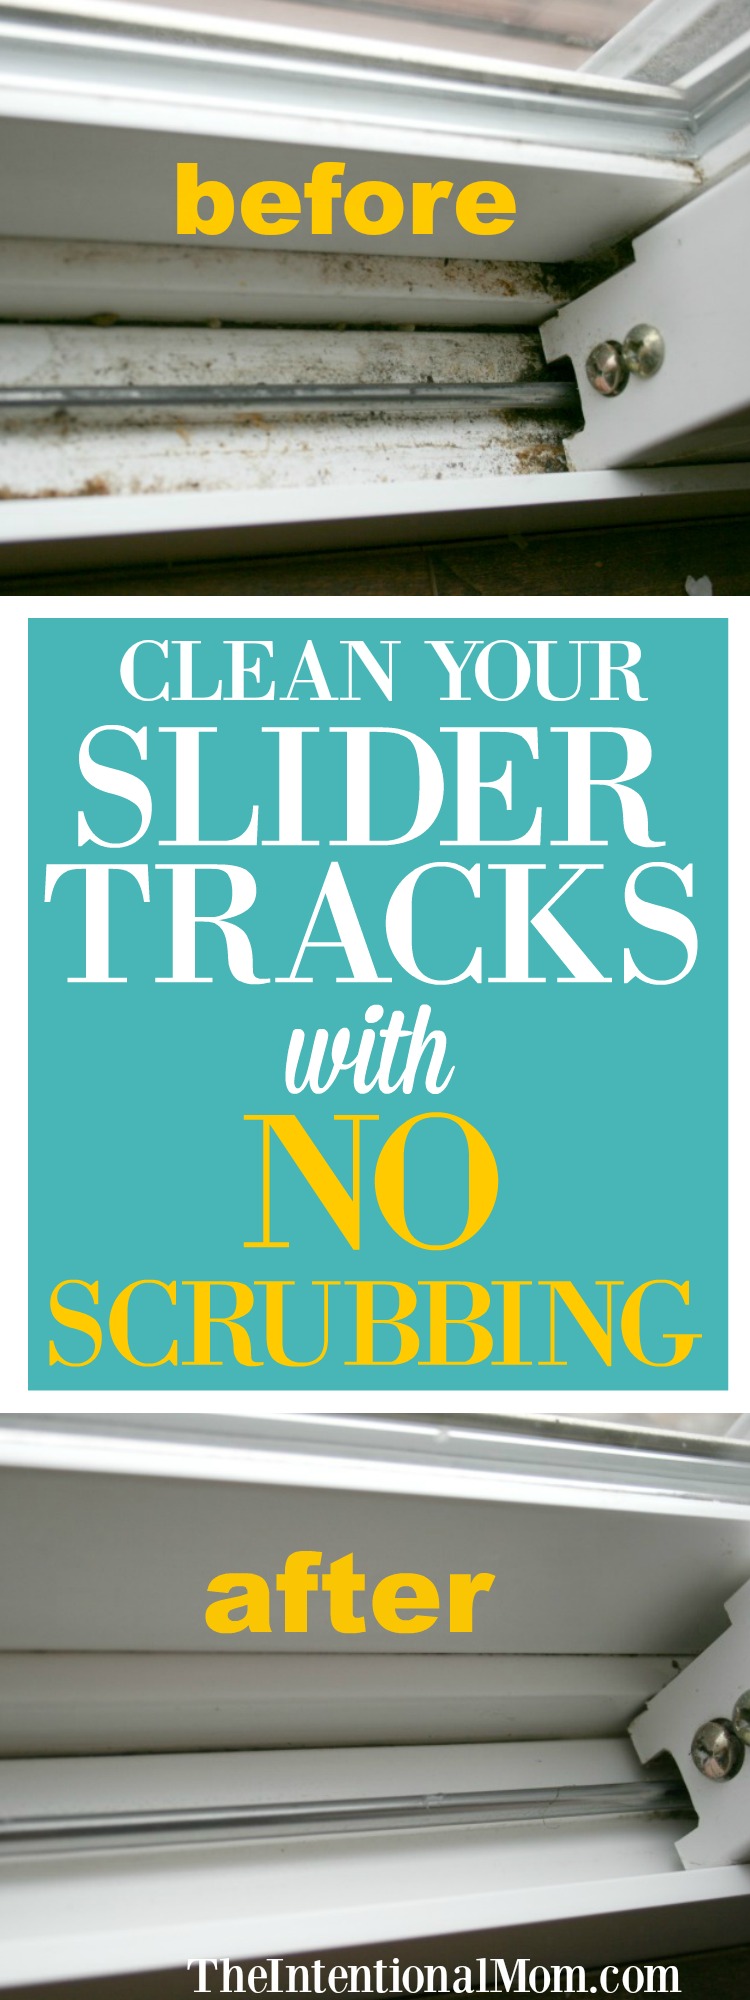
Clean Your Slider Tracks With NO Scrubbing!
The Intentional Mom Planning System is where you need to start with our incredible collection of product options. It will help you establish the basics for your life & home so you’ll finally have a plan, save yourself time, and go to bed feeling like you accomplished something every day (because you did). Save up to 60% HERE!
This post was sponsored, and paid for, by Scrigit Scraper. All opinions are my own.
I love all the light that big sliders let into a room, but they can be a real pain to keep clean. Not only is it really easy to end up with glass that is covered with handprints and who knows what else, but the tracks down at the bottom seem to be a collector of all things. Rather than just turning a blind eye, you really can clean your slider tracks in a snap if you’ve got the right tools and know a simple trick.
The slider tracks in my house collect not only dirt and sand, but they also collect pet hair, random crumbs (one is in my kitchen), and small toys like legos.
Are your slider tracks embarrassing?
Here’s how to clean your slider tracks in a flash with NO scrubbing!
Here’s what you’ll need for this project:
- white vinegar
- baking soda
- paper towel
- rag or cloth
- old toothbrush
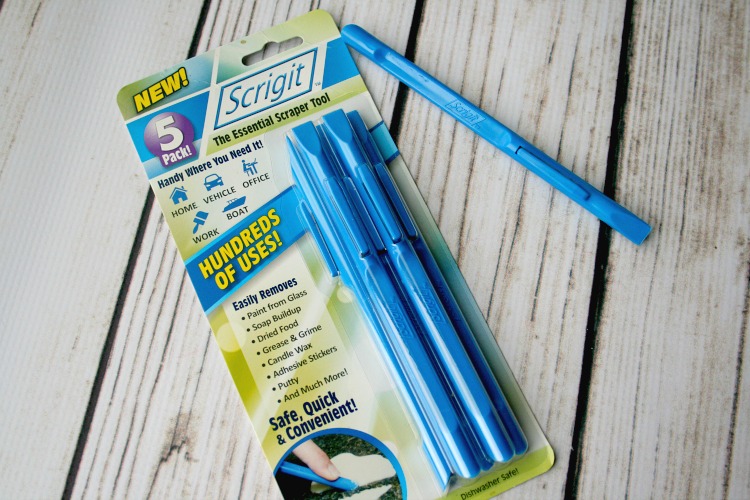
- Scrigit Scraper found HERE
- vacuum with small attachment (optional)
1. If you’ve got loose crumbs or other pieces of debris, start by vacuuming the tracks out
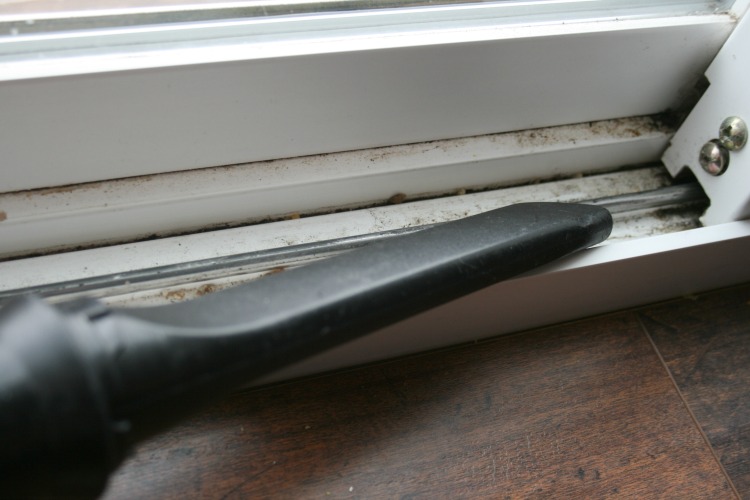
If you can see bigger pieces of dirt, food, or other things, start by getting rid of them. A vacuum does a fabulous job if you’ve got a small vacuum attachment.
2. Next comes the baking soda

Sprinkle baking soda lightly in your slider tracks. Should you have any clumps, just break them up. If you have areas that are packed with dirt or sand, be sure to cover these areas well.
3. Now grab the vinegar
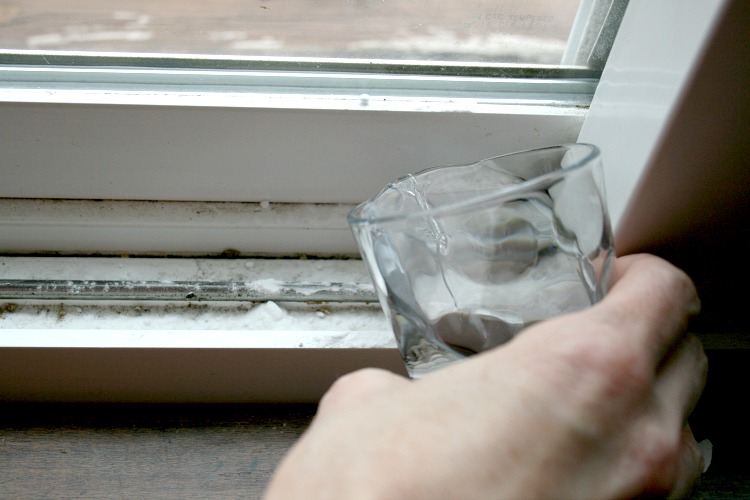
This is where magic happens, and it’s what makes this project so easy. Lightly pour the vinegar over the baking soda. A little goes a long way. It will start bubbling, which is exactly what you want.
4. Leave it
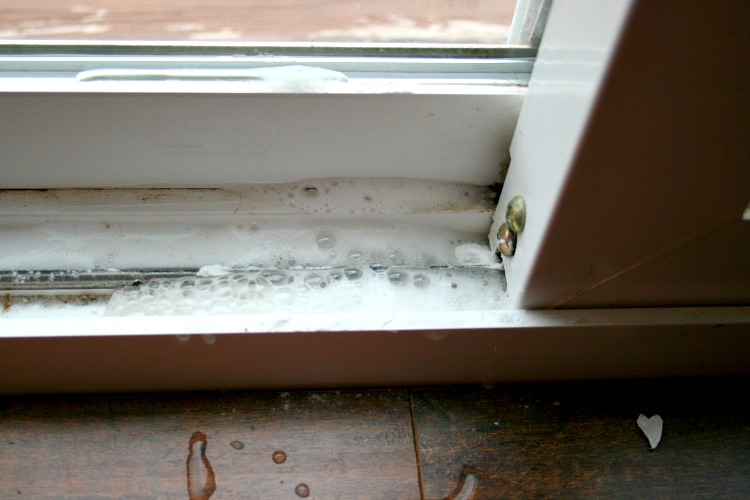
Now, just walk away for 10 minutes or so. The magic takes time, and as it sits the combination of the baking soda and vinegar is taking care of most of the work.
5. Loosen anything that is left with your toothbrush
Much of what isn’t already loose just needs a light brush with the toothbrush. Pay attention to the corners and any grooves in the track.
6. Clean up with your paper towel
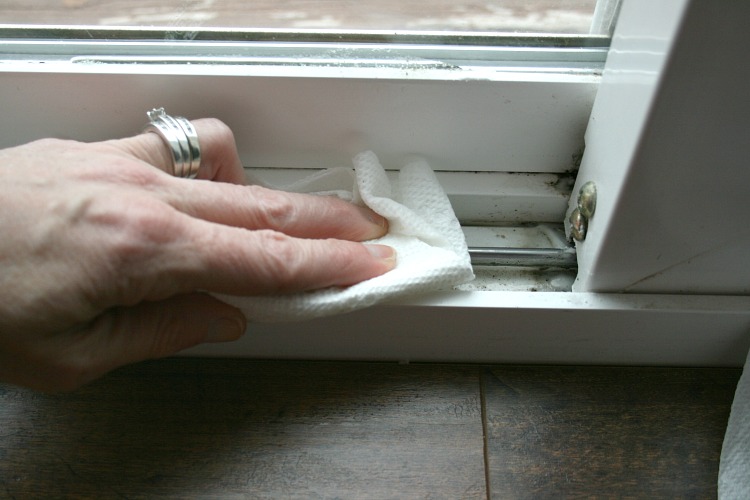
Use your paper towel to soak up any liquid and remove all the gunk that is there. This isn’t the most glamorous part, but once you get past this step the really gross part is done. Just use your paper towel to get rid of everything and throw it right away.
7. Wipe up what’s left
Use your rag to get to clean everything up. If everything doesn’t wipe away, no worries, we will finish that in the next step.
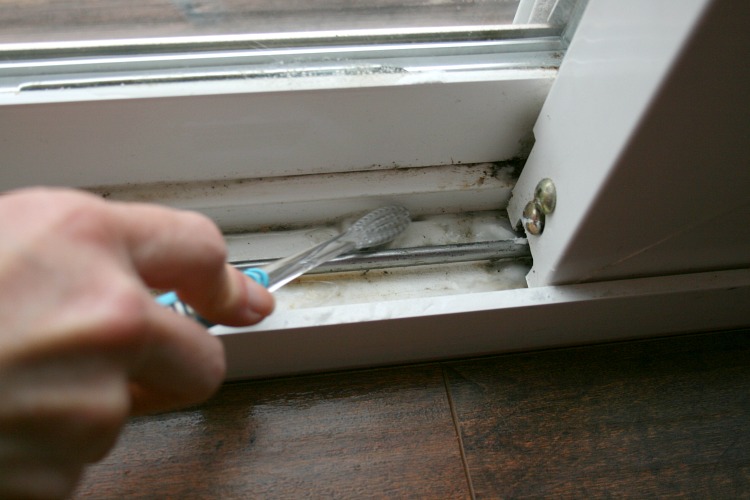
8. Finish in the corners
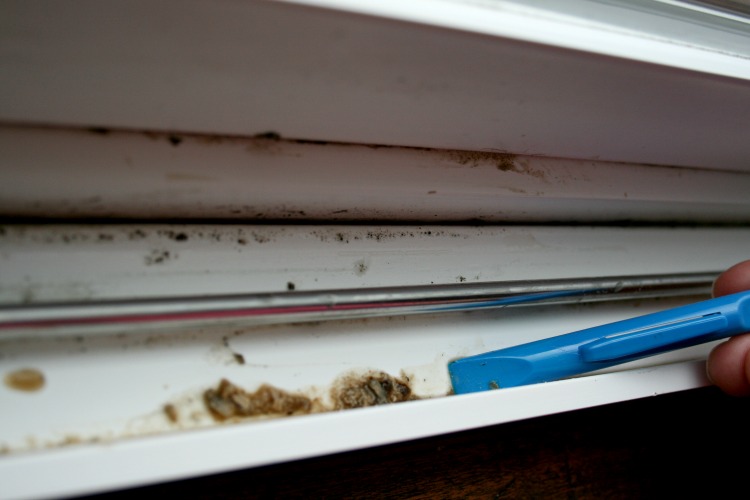
This is where the handy Scrigit Scraper comes in. Previously, I had used a butter knife for this step. But, this Scrigit Scraper does an even better job and is much easier to maneuver in small areas like slider tracks. Super effective, budget friendly, and a time saver for so many projects around the house, this has become my new favorite tool.
So, use the Scrigit Scraper to finish getting all the corners and grooves clean. There shouldn’t be much left, but when you take the time to clean your slider tracks, take the time to get it all.

Look at all the extra “gunk” that this scraper pulls out! I always *thought* my slider tracks were clean before. But apparently, they weren’t!
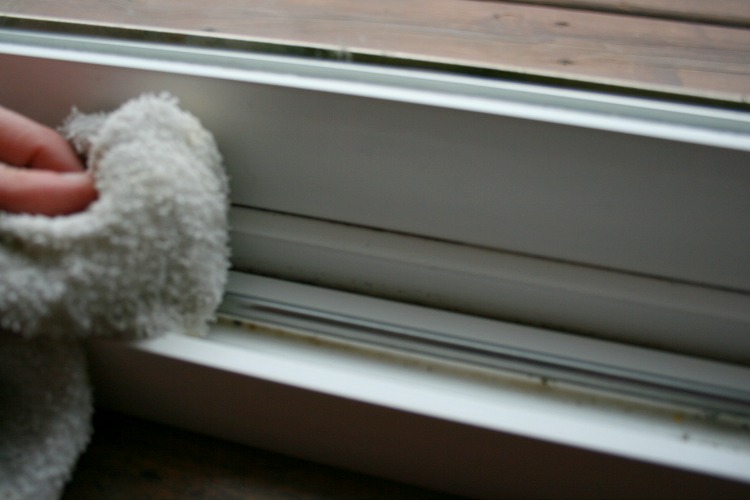
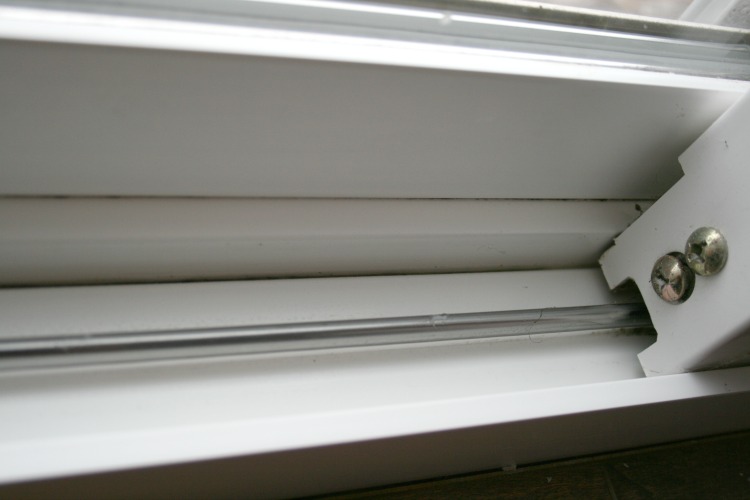
9. Do one last wipe down
Now that everything has already been wiped away or loosened up completely, now is the time yo give the entire slider track one last wipe down.
At this point, everything should be sparkly clean.
In an ideal world, cleaning my slider tracks is on my monthly to-do list. But, even if it ends up being longer, following these steps and having the right tools, like this one, makes it quick and painless.


A water pic and water provide a scrub-free way of cleaning vinyl and metal window sliders and bottoms casement and sash windows. The water pic powers dirt out of creavesses and just soak up the water and dirt with a cloth or paper towel.
What a great tip! Thank you for sharing!
This is the greatest information for cleaning slider windows. I was dreading cleaning all mine now i’-ll try this sounds like it is fast and not to messy. Thanx you
You’re welcome!